Profiles guide · Step 5 of 7
How to Set Up Profiles on a Timber Frame
On a timber frame job the frame is up before you arrive. That gives you something solid to fix the top of every profile to.

Profiles guide · Step 5 of 7
On a timber frame job the frame is up before you arrive. That gives you something solid to fix the top of every profile to.
First
The carpenter puts up the frame.
Then
You set out and lay the first course, and set the damp-proof course (DPC).
Now
The profiles go up — with a course of brick and the frame to fix to.
Clamp the profile through the perp joint. Which clamp depends on how the brickwork is laid out at that corner:
Mortar already gone off, or coming back to a job? Use a nail-on clamp — External or Internal. Tap the nail into the perp or bed joint. No chiselling the mortar out.
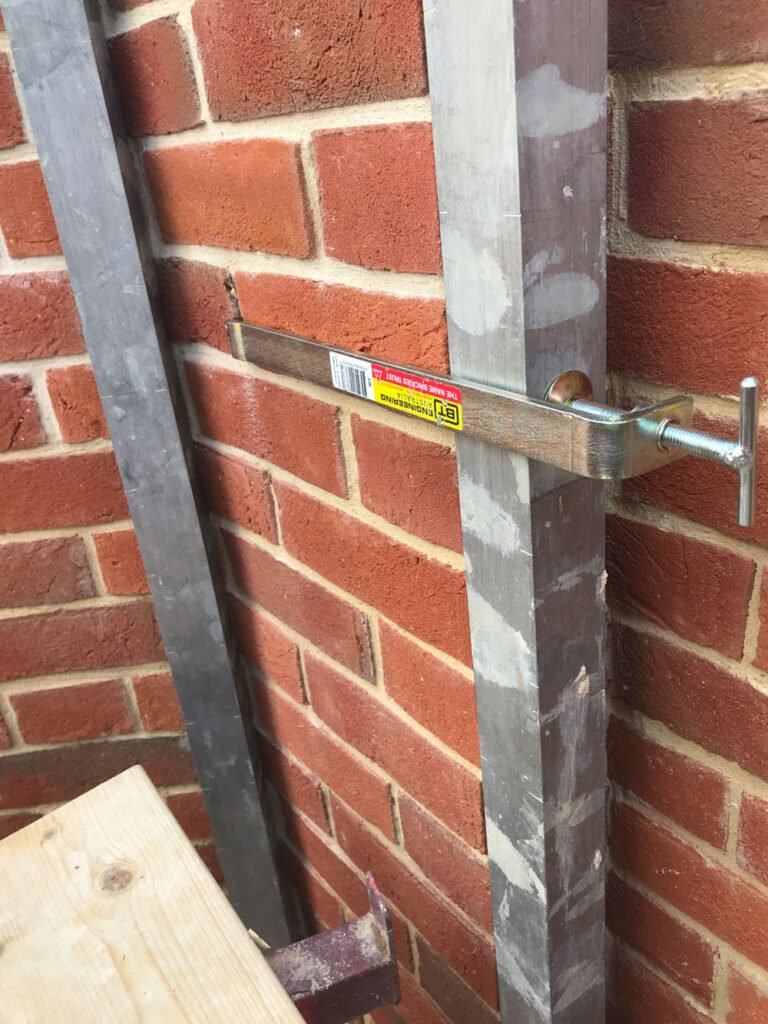
Profile clamps through the perp joints at the base of each profile.
Use the Top Clamp – Timber Veneer Adjustable. It adjusts left–right and in–out, so you can bring the profile dead plumb.
Why it matters: the line pulls on the profile. As you work up and tension the line, it would drag the profile inwards; the clamp holds it true. It works the same on internal and external corners. Spare nail brackets are sold separately.
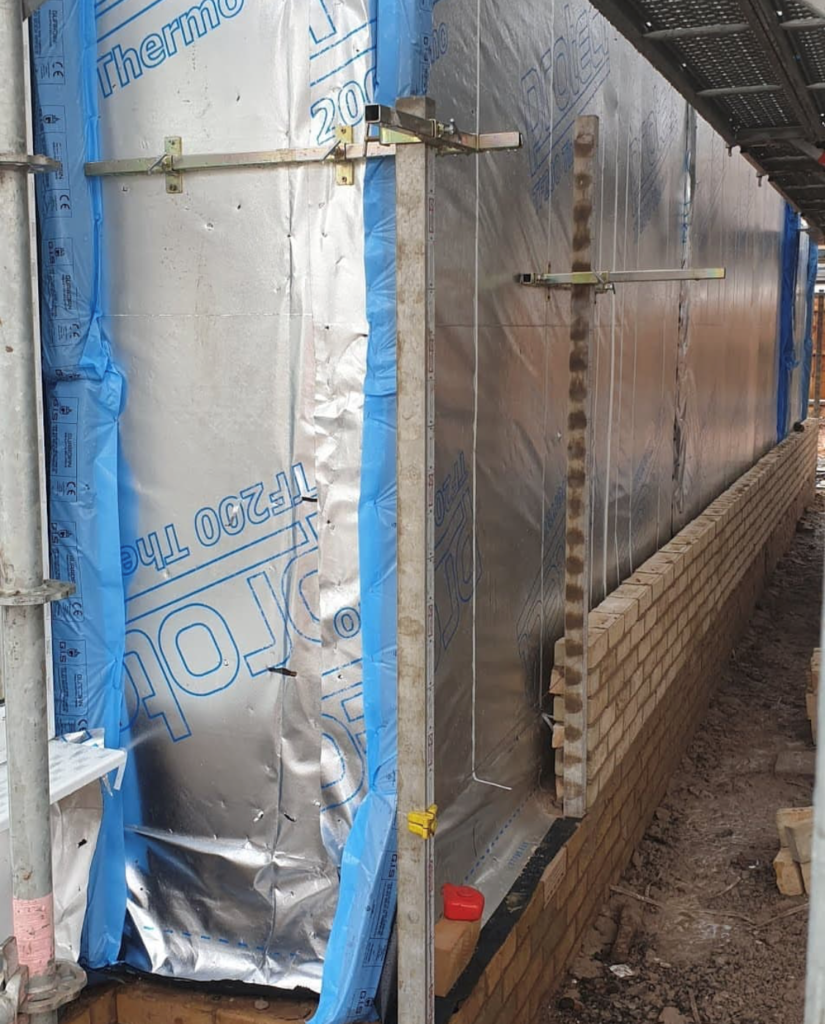
The timber veneer top clamp nailed to the frame, holding the top of the profile.